How to put your project on the internet
Your project works. You’ve been building it for days, maybe weeks. You open it in the browser, click around, everything does what it should. It feels real.
It’s not real. It lives on your machine. Close the laptop and it’s gone. Send someone a link? There is no link. Whether your browser says localhost:4321 or file:///Users/you/project/index.html, it means the same thing: only you can see it.
This post is about fixing that. You set it up once. After that, every push updates your site.
What “deploy” actually means
When you build locally, your computer runs a small server that only you can see. Deploy means putting your project on someone else’s computer - one that’s always on, always connected, and gives your site a real URL.
There are dozens of ways to do this. Most of them are painful. I’m skipping all of that. I kept waiting for the hard part and it never came.
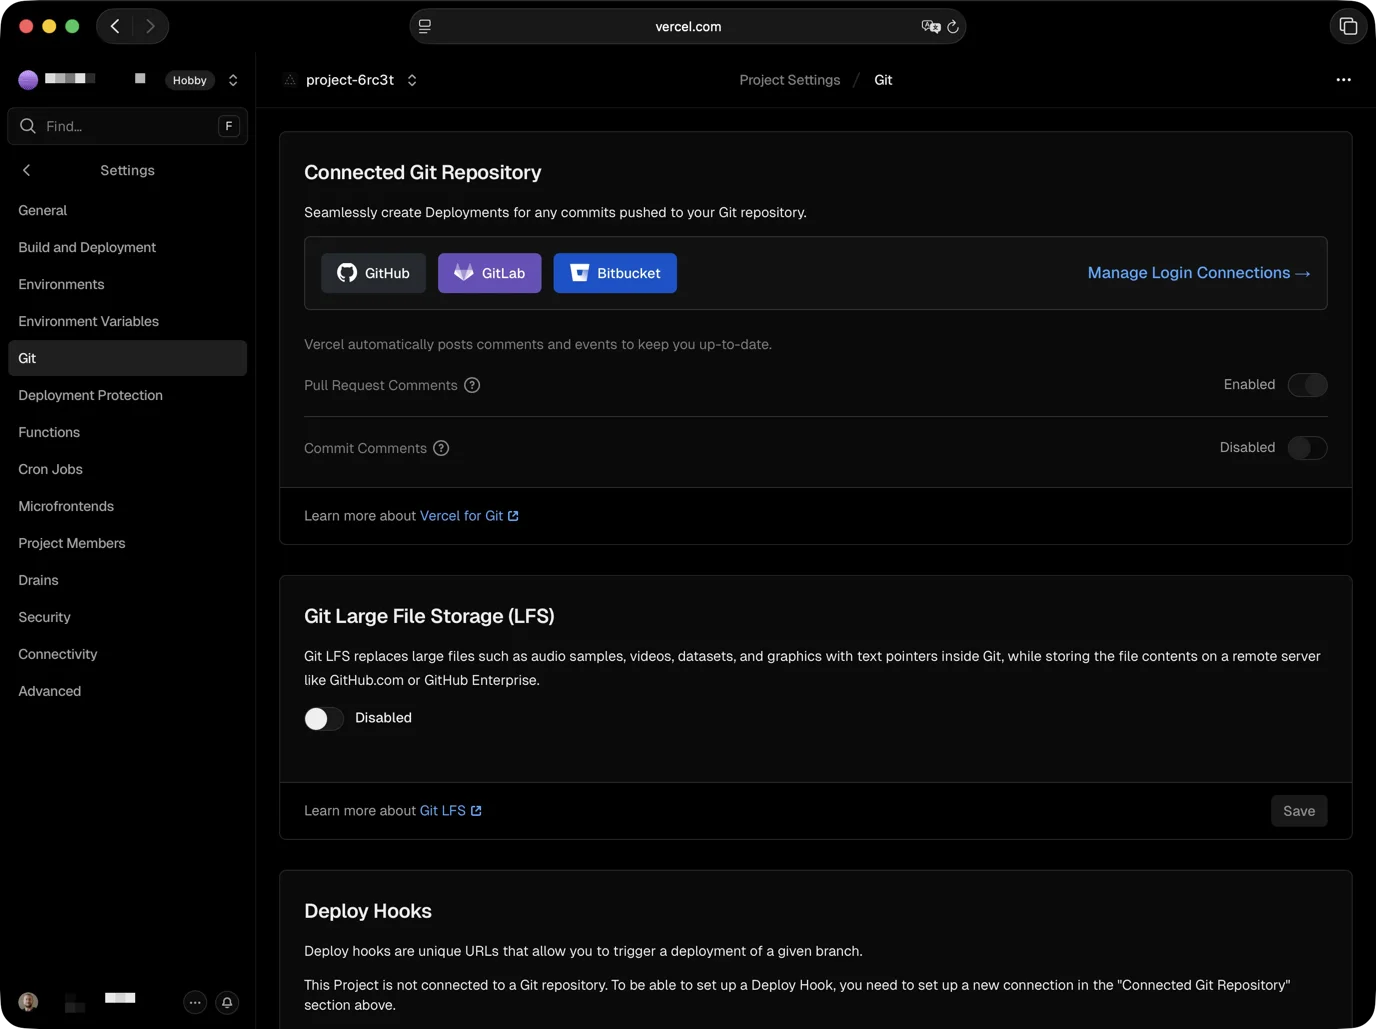
The setup: GitHub stores your code. Vercel turns it into a website. You connect them once and never think about it again.
Vercel isn’t the only option - Netlify and Cloudflare Pages work the same way. I picked Vercel because the setup was simple and, honestly, I liked their design. You can probably tell.
Step 1: Push to GitHub
If you already have a repo, skip to step 2.
If you don’t, I wrote a whole post about this: Why you should use GitHub (even if you don’t code). Short version: GitHub is an undo button for your entire project.
Here’s what the push looks like in practice. I tell Claude:
push to githubThat’s it. Claude stages the changes, writes a commit message, and pushes. Three words in a terminal and my code is online.
Step 2: Deploy on Vercel
Go to vercel.com and sign up with your GitHub account. Free tier is more than enough for personal projects. If your site makes money, you’ll need Pro ($20/month).
Click “Add New Project.” Vercel shows your GitHub repos. Pick the one you want to deploy. It detects your framework automatically and sets up the build. Not sure which framework you’re on? I wrote about how to pick the right tech in a separate post.
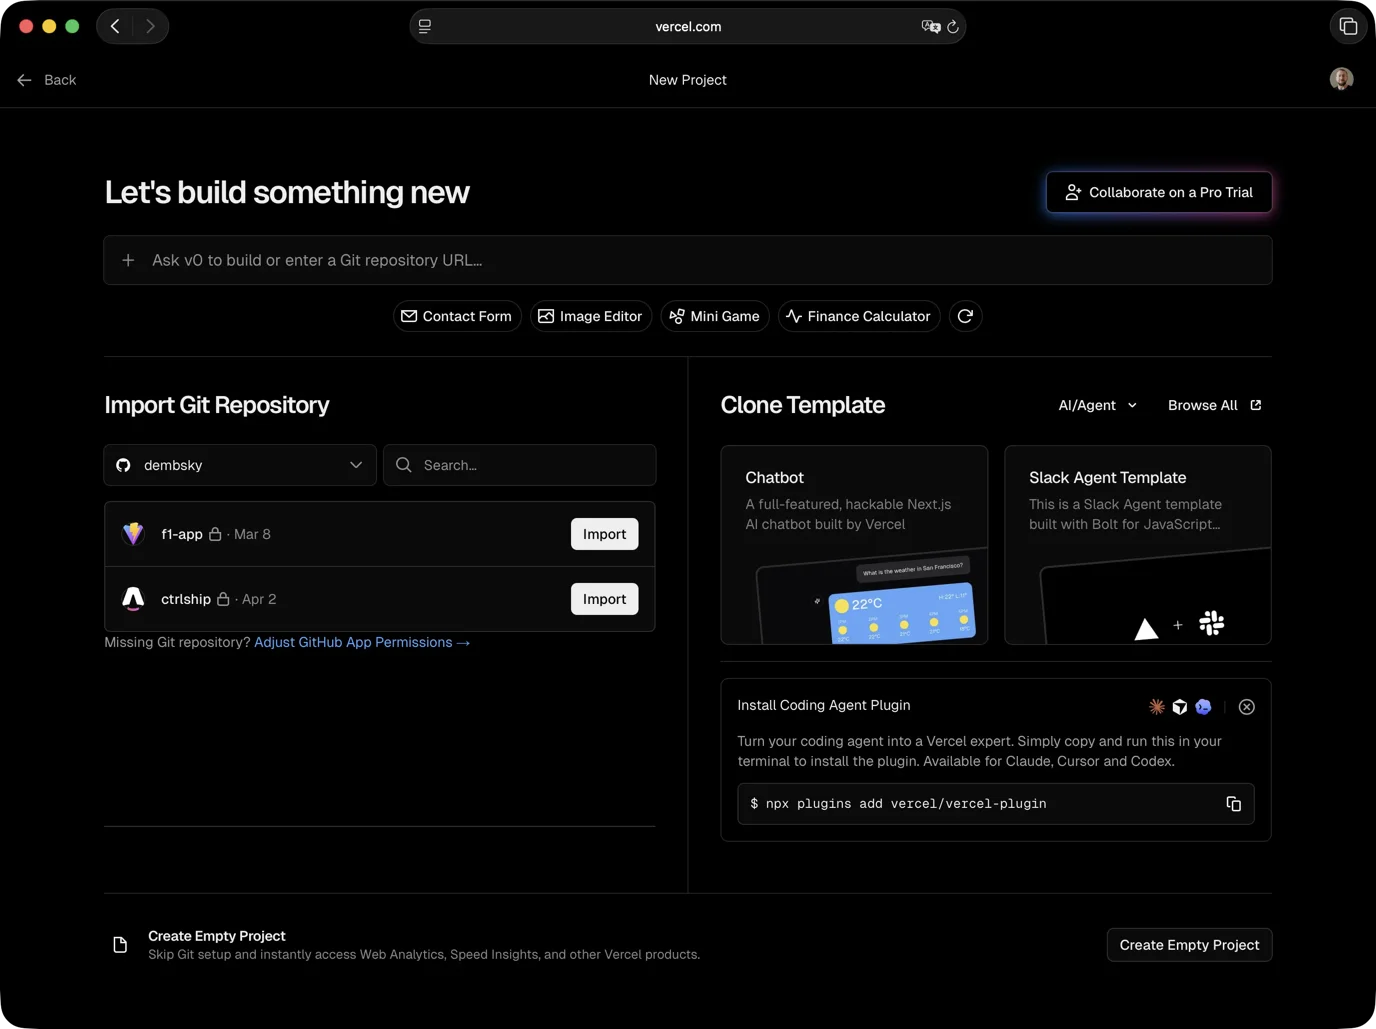
Click “Deploy.” Vercel builds your site in about a minute and gives you a live URL ending in .vercel.app. Open it. That’s your project on the internet.
That’s the last time you need to touch the Vercel dashboard for deploys. You’ll probably come back to check how many people visited your site, though. From now on, every push to GitHub triggers a new deploy automatically. You tell Claude to push, Vercel picks it up, your site updates.
If Vercel doesn’t detect your framework correctly, tell Claude:
Vercel can't detect my framework, help me set the build commandIt’ll figure it out. If a deploy fails for any reason, Vercel shows you an error log - copy it and paste it to Claude.
What you get for free
The free tier includes more than just hosting.
Automatic deploys. Push your code, site updates. Push to a separate branch (a copy of your project you’re experimenting with), you get a preview URL to test before it goes live. I caught broken pages in preview more than once before they hit the real site.
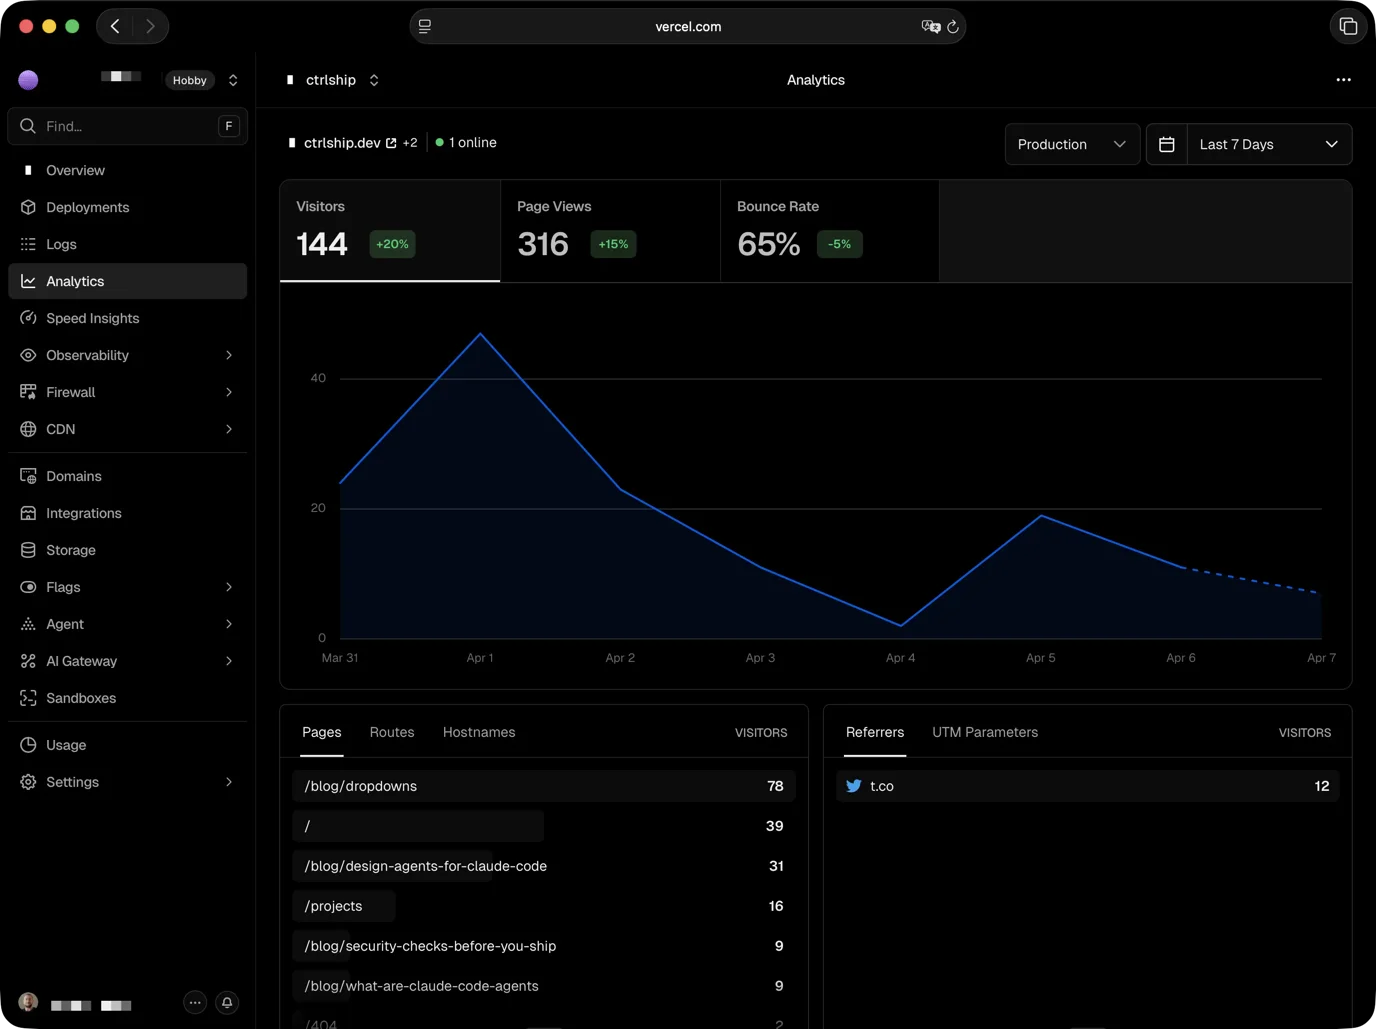
Analytics. Visitor data: where they come from, which pages they visit, bounce rate. Enable it in your Vercel dashboard, then tell Claude “add Vercel Analytics to my project.” One component, done.
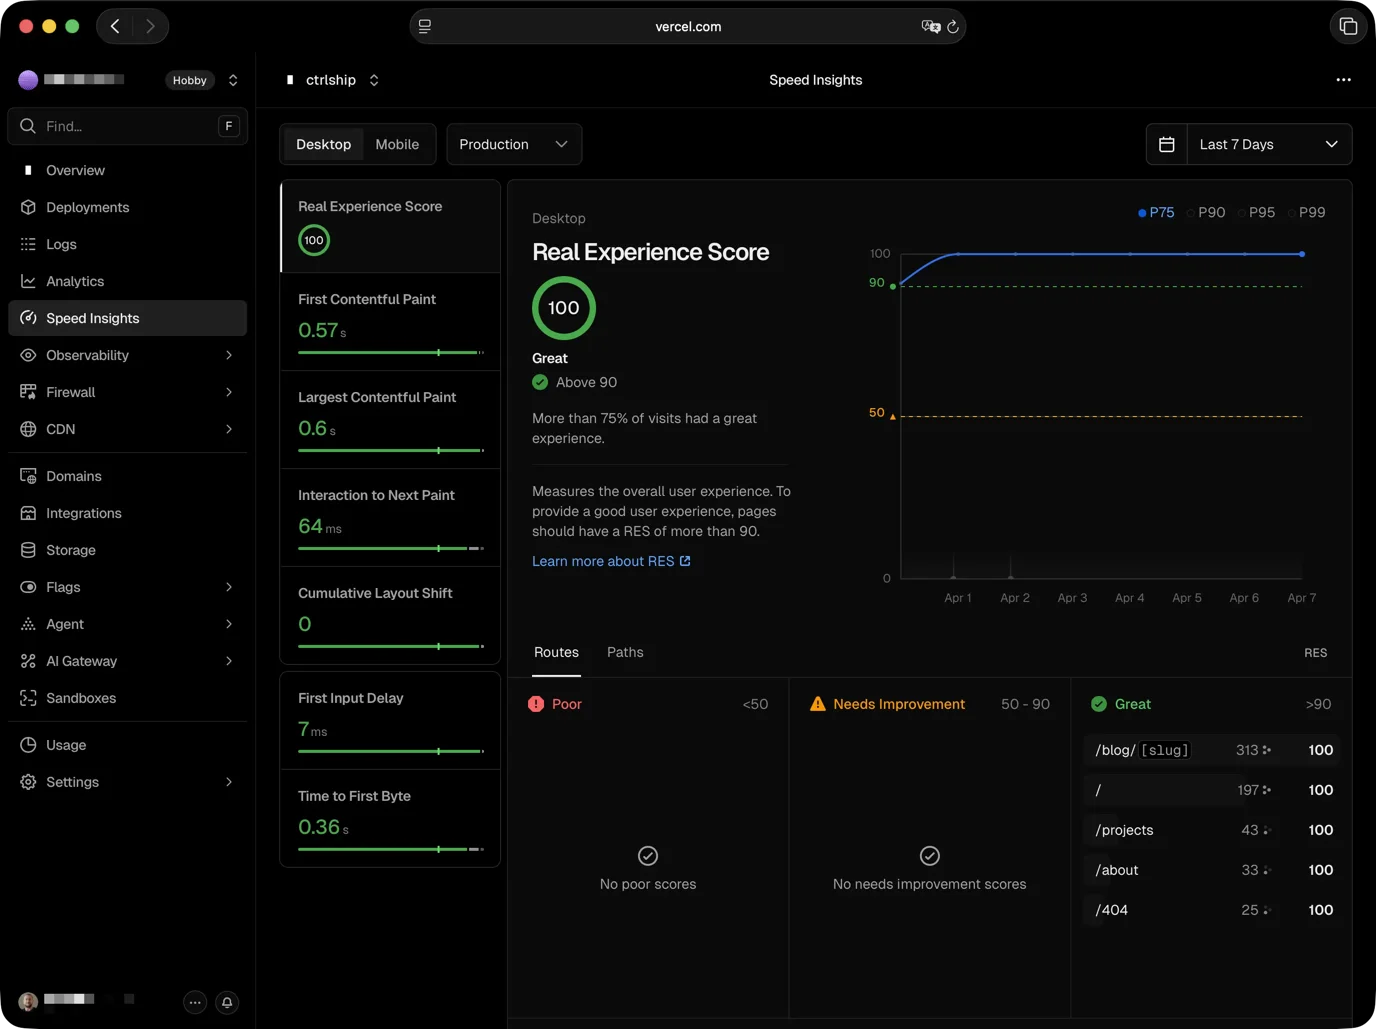
Speed Insights. How fast your site loads for real visitors on real devices. Not a simulation.
HTTPS. That little padlock in the browser bar. Used to be something you had to buy separately. Vercel just gives it to you.
Custom domain. Vercel gives you yourproject.vercel.app immediately, which is fine for testing and sharing. When you want a real domain, buy one from any registrar - Vercel sells them directly, but Cloudflare and Namecheap are popular too. Then tell Claude “connect my domain to Vercel” and it’ll walk you through the DNS setup. Mine took five minutes.
Lighthouse
Lighthouse is a tool in Chrome that grades your site on speed, accessibility, and code quality. My colleague Maciej - the same one who got me into Claude Code in the first place - taught me that scoring 100/100/100/100 isn’t some unrealistic goal. It takes more time, sure. But it’s the same logic as testing your site on different browsers. You do it because it’s worth doing, not because it’s quick.
That stuck with me. So I started checking Lighthouse scores. Eventually I told Claude to set up a rule: if any score drops below 100, don’t deploy. The check takes a few minutes when it runs across the whole site. Perfect for doomscrolling.
Here’s why that matters. When you ship with AI, you don’t read every line of code. Claude writes it, it works, you move on. But “works” and “works well” are different things. A page can load, look fine, and still have invisible problems: missing image descriptions, slow fonts, headings in the wrong order, images without dimensions that make the layout jump. If you haven’t run security checks either, you might be shipping more than just performance issues.
Lighthouse catches the quality stuff. You can save this kind of rule in your project instructions so Claude checks automatically every time.
check lighthouse scores before pushingThat’s the prompt. Claude runs Lighthouse, reads the scores, and if anything is below 100 it fixes the issue before pushing. I don’t review the code. I review the scores.
When 100 drops to 99
My blog was 100/100/100/100 for weeks. Then I added a page with interactive components and Performance dropped to 99. One point.
It wasn’t a heavy page or a massive file. It was one script installed the wrong way.
Vercel has an analytics tool you add to your site. I installed it the wrong way. That created a chain: the page loaded one file, which loaded another before the actual tracking kicked in. Each one waited for the previous one to finish. Lighthouse flagged the slowdown. Performance dropped to 99.
Claude replaced seven lines with one. Here’s what it looks like (you don’t need to understand the syntax, just notice it’s shorter):
---import Analytics from "@vercel/analytics/astro";---
<Analytics />
One line. No chain. Back to 100.
The system caught it. Without Lighthouse checking every deploy, that 99 would have been invisible. Left unchecked, 99 drops to 97, then 94. Three months later you’re wondering why your site is slow.
Your next 10 minutes
- Push your code to GitHub if it isn’t there already
- Sign up at vercel.com with your GitHub account
- Import your repo and click Deploy
- Tell Claude to check Lighthouse scores before every push
Your project stops being a folder on your laptop. It becomes a URL you can send to anyone.